
"The Ho" (34)
Seventeenth Trip
This was to Attica on 10th June 2006. Andy and I rode in "The Ho" whilst Dave took his Jeep along with his daughter, Jessica, her friend Mandy and Andy's son, Drew. It rained most of the day which was disappointing but we hit the dunes and messed around in the creeks.
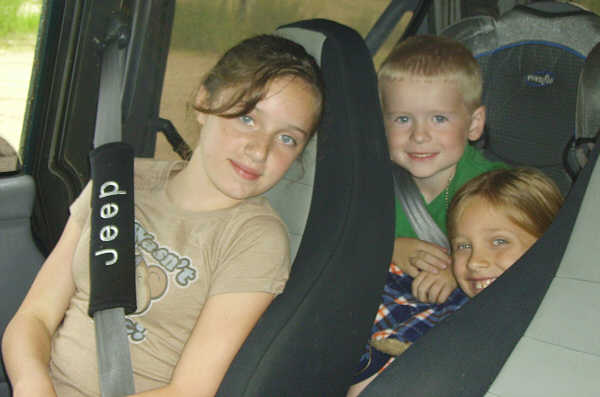
Our young passengers..
Jessica, Drew and Mandy
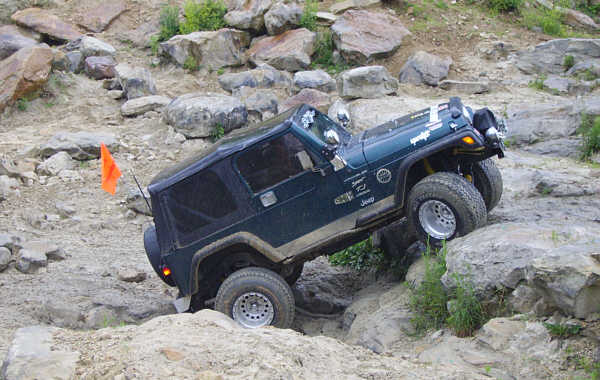
Dave rock climbing
"The Ho" developed a problem with the transmission. It won't change gear properly especially from 1st to 2nd. This is apparently a known problem for the A4LD automatic transmission that ford and Mazda used. The Explorer Forum has an excellent article on rebuilding this type of tranny and hopefully we'll find it's something simple rather than having to rebuild the whole thing. If the worst comes to the worst then according to the Ford Truck Enthusiasts site we can expect to pay around $400 - $700 for one from a junkyard, a rebuild will cost $800 - $1,100 and a remanufactured one will cost $1,300 - $1,800. eBay has a selection of parts for this tranny as well.
More Lift
The holiday weekend of 1st to 4th July 2006 meant we could do some work on "The Ho". We had some idea of what we wanted to do. One was to sort out the gear shift problems we'd had recently and to raise the vehicle by doing a rear "spring-over".
We fitted a new tranny filter kit ($14, Advance) and put a bottle of TransEx transmission cleaner into it but otherwise couldn't see any damage to the linkage. Andy said that there was metal inside the transmission but we'd have to take the whole thing out to inspect it properly. We decided not to do that for the time being.
What we did do was a rear spring-over. The rear spring centre mount point on most vehicles is under the axle. A spring-over involves welding a spring perch to the top of the axle and moving the springs so that they sit on top of the axle. The rear wheels were taken off and the drive shaft disconnected from the rear differential. The rear shock absorbers were disconnected and we removed the shackles holding the spring to the axle and the shock absorber mounting plates. Next to come out were the spring rear mount bolts. This is a lot easier said than done as the bolts seemed fused to the bushings. In the end we ground off the bolt heads and used a punch and a heavy hammer to force them out. It would have been easier if we could have removed the spring mount bolts but they refused undo and there wasn't enough room to force the bolts out. Instead, being careful not to break the brake lines, we maneuvered the axle out from under the springs and put it on top. New hardened bolts were used for the rear spring mounts. The bottom stiffening leaf of the spring was removed and, after carefully lining everything back up, the new spring perches were inserted and the old shock absorber mounting plates were reassembled using the old axle shackles.
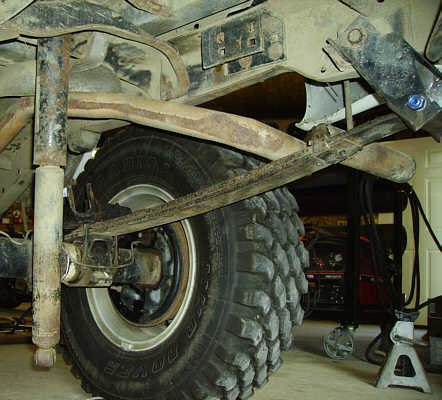
A completed rear spring-over showing the new
rear mounting bolt and spring perch
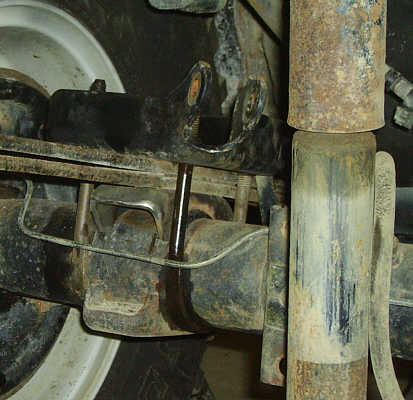
A closer view of the new spring / axle mounting
Before everything was finally tightened we reattached the rear drive shaft. We found that the because we'd changed the angle between the rear differential and the rear drive shaft we had to rotate rear axle slightly to bring everything back into alignment. This drive shaft pinion angle is around 8 degrees. Also, because we'd effectively moved the differential away from the drive shaft we didn't feel that there was enough of the splined end of the shaft still attached to the transmission. What we didn't want to happen was for the rear of "The Ho" to flex and pull the shaft out of its mounting or worse still, to leave so little of the splined end of it attached that the end of it would get chewed up. Although you can buy special extensions or packing for the shaft we thought we could get away by using longer bolts and using hardened nuts as spacers.

The new attachment of the drive shaft to the rear differential
We thought we might get some vibration from this unusual mounting method, but it works OK.
After tightening everything up it was time for some welding. The new spring perches had to be welded to the axle. Because we moved the shock absorber mounting plate we could no longer mount the shock absorber to them. In March 2006, we'd removed the rear anti-sway bar and so Andy welded a new bolt, at an angle, to the mounting plate for that so we could reattach the shock absorbers.
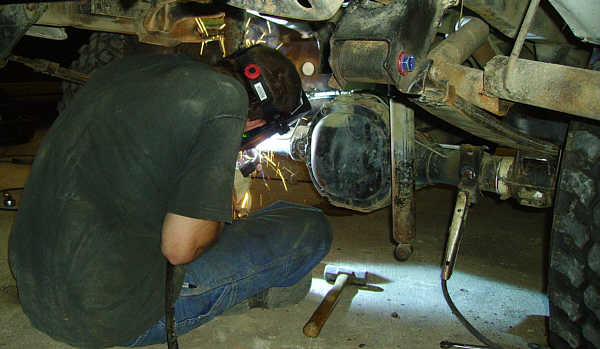
Andy welding new rear shock absorber bolts
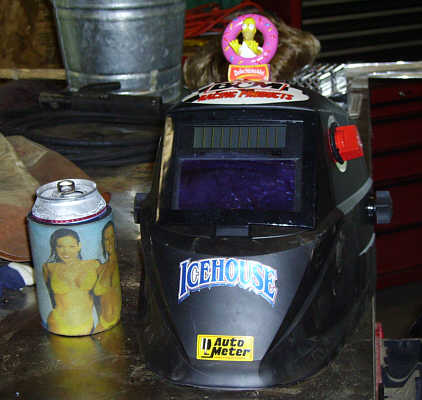
Essential welding equipment -
A good helmet and some beer
This page created 18th June 2006, last modified 13th July 2006